Pour la version française, cliquez sur l'image ci-contre. |
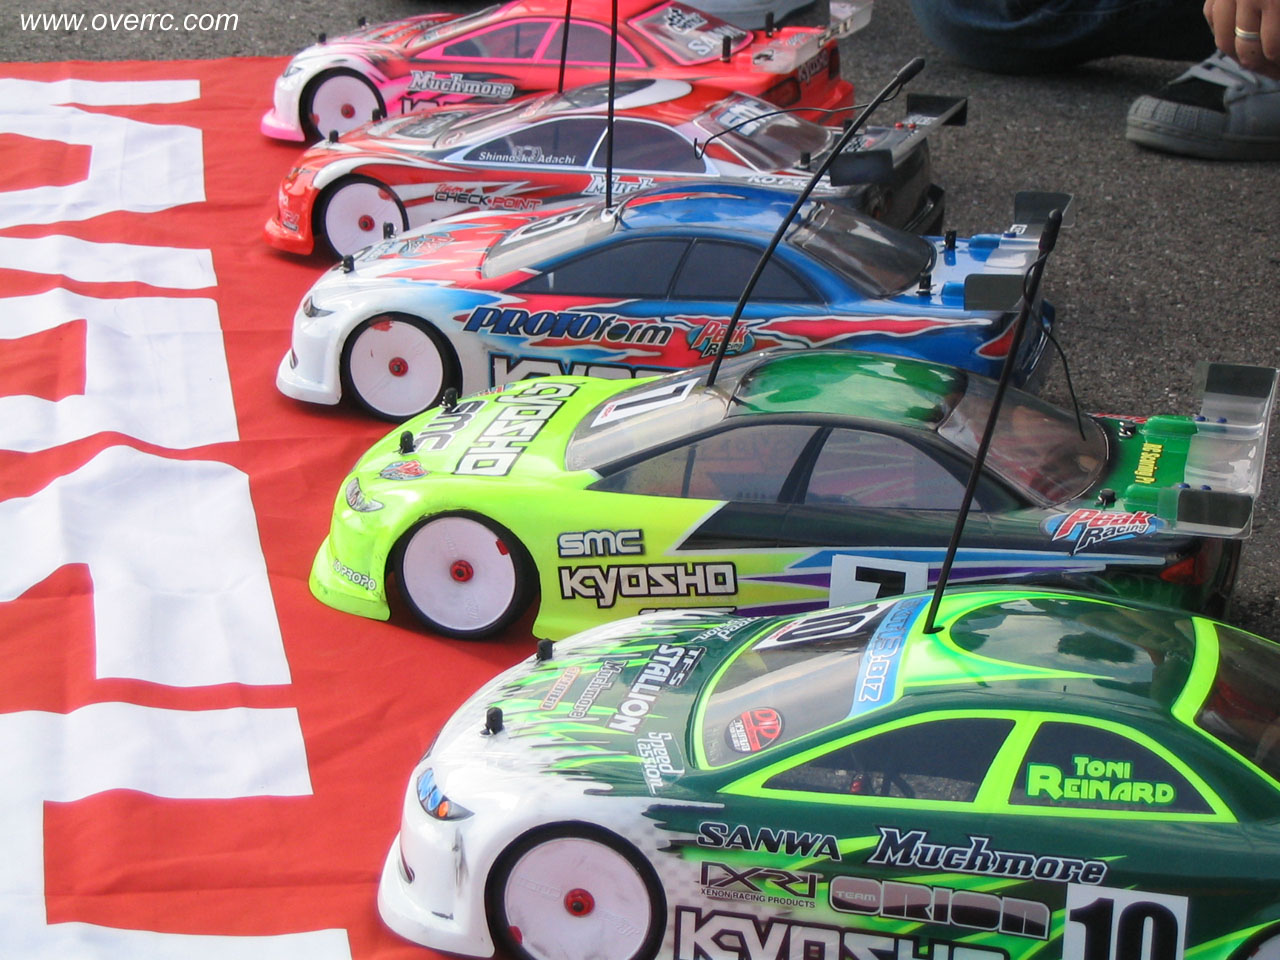
Kyosho TF-5 Stallion Shin Edition,
|
|
Edition: 29/02/2008. |
Pour la version française, cliquez sur l'image ci-contre. |
|
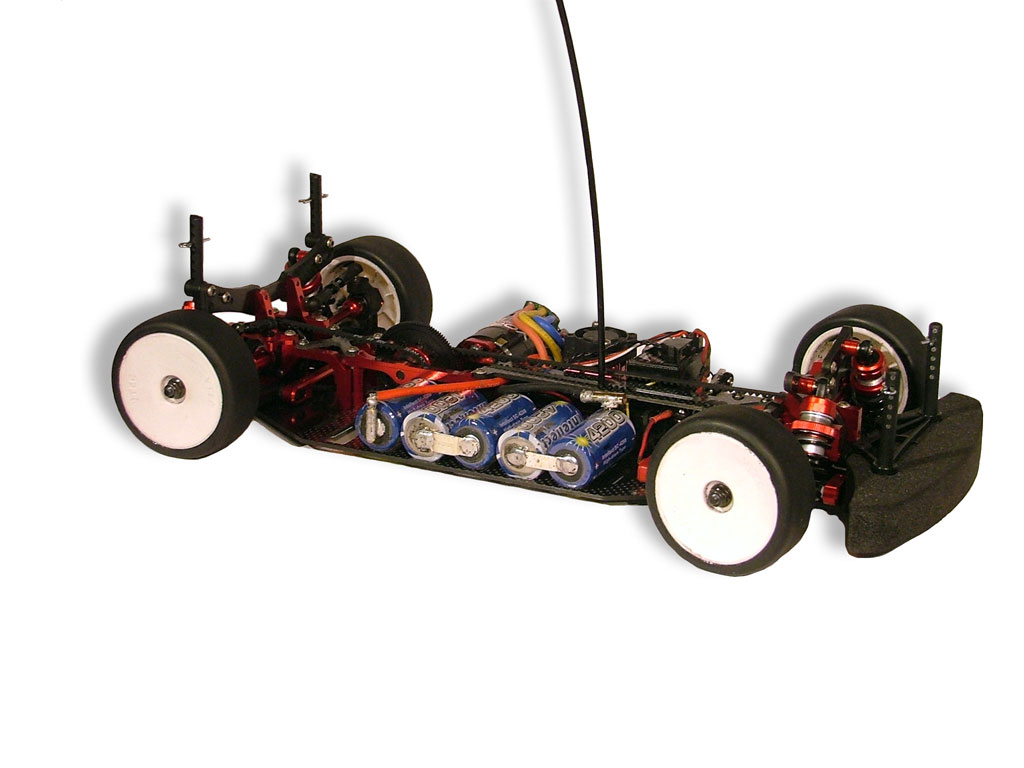
The TF-5 Stallion Shin is Kyosho's third Electric Touring car to hit the market. A couple of years ago and after a lot of speculation on the Internet's forums, Kyosho finally released their first competition electric touring car, the TF-5, a shaft driven car at the period where belt cars made their big come back even in stock racing and so the car wasn't as successful as expected. After that, was a time of even more speculation, as Josh Cyrul had a couple of prototype cars, featuring very innovative solutions, while on the Japanese side of things, a more conventional car was sighted. Kyosho came to the Worlds in Collegno with a few pre production cars for Mark Pavidis, Shinnozuke Adachi, Takuya Ito and Tony Rheinard, and ended up in the B final at the hands of Mark Pavidis, while Josh Cyrul put his prototype car in the B as well. The car used by the other drivers was put in production and released, but encountered mixed success as it was too expensive for its specs. The car was also criticized on how wide the chassis was. A few months later and after seeing Adachi testing Cyclone rear arms at the DHI, the Shin Edition was released as a kit and also as a conversion kit. |
 |
||
|
|
|
|
|
The car in this presentation was a normal Stallion with a Shin conversion kit. The first Stallion was lacking specs for the price, as a lot of the parts were made out of plastic where aluminium was expected. The shin upgrade kit doesn't correct this and if you are in my case, you will still have to buy the optional aluminium parts. However for those of you who will buy the Shin edition kit, the aluminium parts are included. The buildBuilding the car was admittedly quite messy. Having a kit and a conversion kit makes a lot of parts redundant and you have to make sure to put the new parts where needed. The car comes together very nicely, with as little slop as possible. The machining of the aluminium parts and molding of the plastic parts is second to none. Being used to Tamiya kits, it's nice to see hinge pins go in the wishbones freely without the need of a reamer, yet not being sloppy at all. The bulkheads are beautifully machined and to much tighter tolerance than many kits. One good point for the conversion kit is that it includes a proper Shin Edition manual, and not a few pages notifying of the changes like some manufacturers have the bad habit of doing. |
|
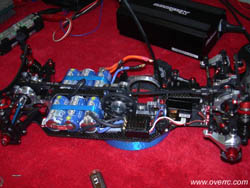
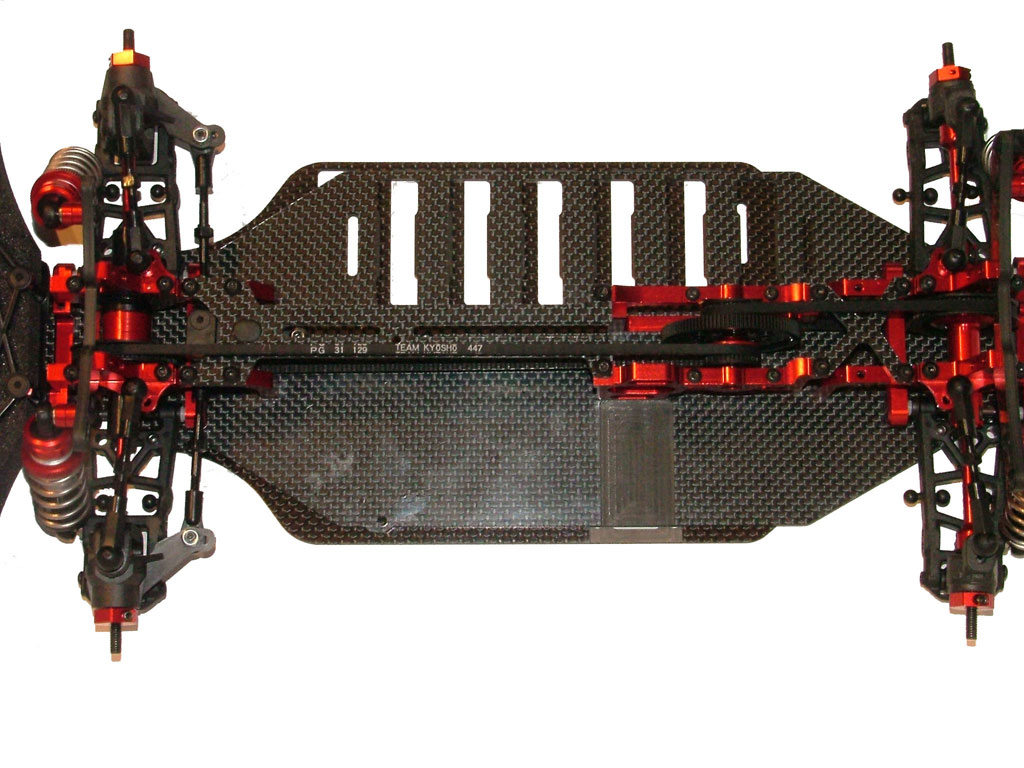
ChassisThe car features a standard dual deck chassis layout, but has singularities compared to the main stream of the actual chassis. First, it is rather wide, although not quite as wide as on the original stallion kit, but wider than that of the MSXX for example. Compared to the Stallion, the Shin also features cells moved much further forward, to a position comparable to that of the other TCs. |
 |
|
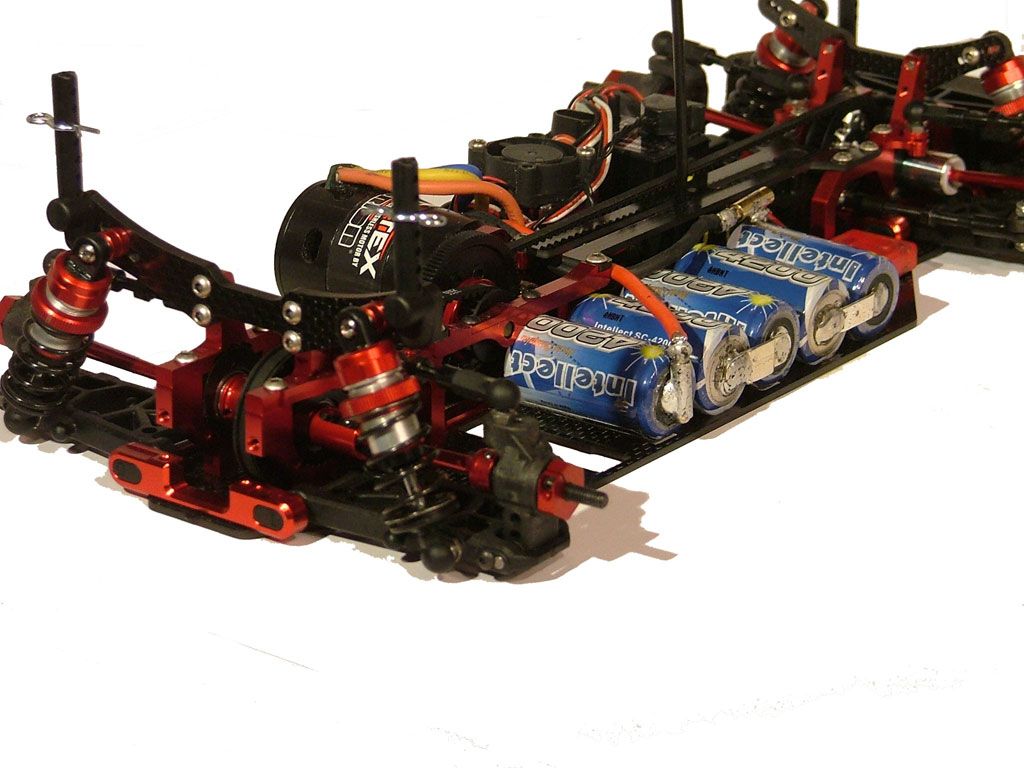
The motor however is much further forward than on many cars, which leaves only little space in font of the motor, but there is space behind if you want to use it. Another singularity are the central bulkheads. These are rather long and are not hanging over the cells, but are running next to them, with the right hand side bulkhead nicely machined to allow space for the battery bar for example, whilst also being moved as close as possible to the centre. |
 |
|
These bulkheads, and this is an important point, present the narrowest configuration on this type of chassis so far. As a comparison, they are 6mm closer to each other than on the TRF 415. This means that the motor is 3mm closer to the centreline, which moves the masses drastically to the centre. This is really good and should help with the car's handling. |
 |
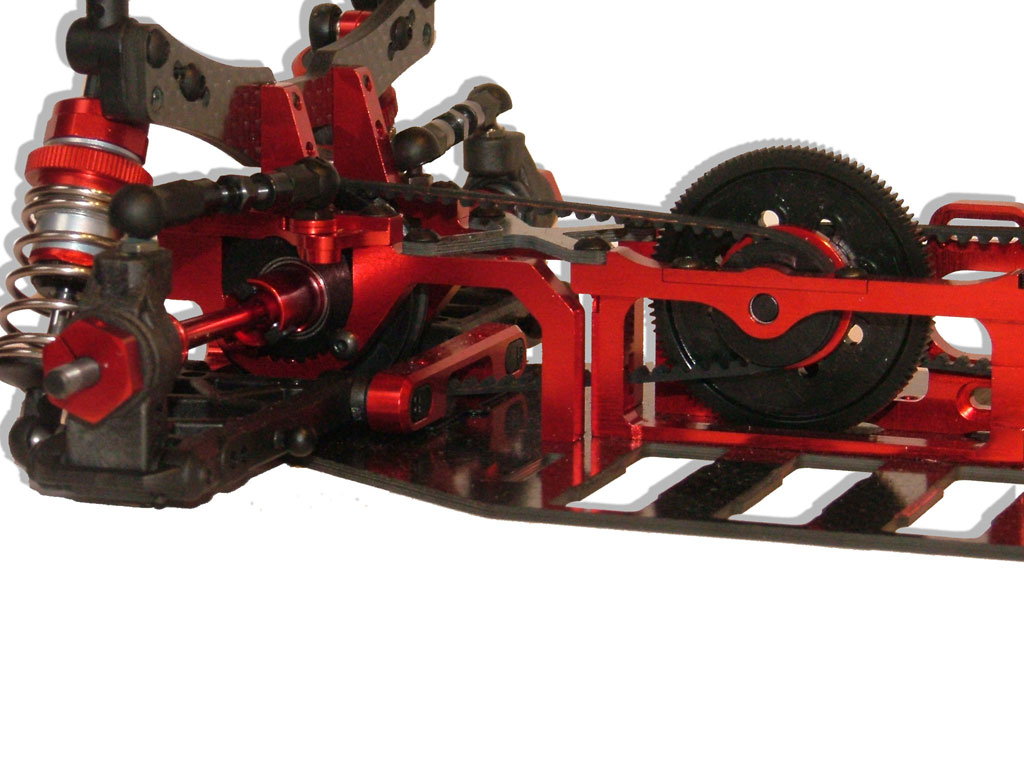
SuspensionThe Shin features its own new wishbones, with rear wishbones 2mm shorter than on the Stallion. They are in the industry standards in terms of length, although strangely the rear wishbones are shorter than the front ones. Interestingly though, cars at the DHI featured re-drilled wishbones, where the inner hinge pins were around 4/5 mm closer. There are plenty of positions for the shocks to be attached to the wishbones, and the same goes for the turnbuckles, with easy way to set the roll centre using shims as introduced with the TRF 414M 7 years ago. |
 |
|
Another really good point of this car is the way the hinge pins are held. The suspension blocks feature hard plastic inserts which are used to set the toe and track width. So you only need a set of blocks and if you have enough (cheap) blocks, you can do any combination you want. Like with the bulkheads and the wishbones, the parts are a perfect fit and there is no slop whatsoever. Once all assembled, the wishbones are perfectly free, with no binding and no slop. No thin shims required at all. |
 |
DifferentialFor my car, I have preferred to get the aluminium diff outdrives straight away, as I only race modified. I am sure however that the plastic outdrives will handle anything up to 19T without problem. I also chose to put Acer racing ceramic diff balls in my diff. I have been using those for countless years (since 2001) and they have provided me with the smoothest diffs always. I highly recommend them. I also use AE black grease and Stealth diff lube in all my diffs as I feel they provide the best diff action for the longest period of time. Anyway, the Kyosho diff is at least up to par with the TRF diff, which means it's probably one of the smoothest diffs out there. Once again the quality of the machining is unbelievable and provides a diff that without slipping is smooth as butter. We will see how it fares once on the track. A good point is that it can be adjusted by putting an allen key through the outdrive, good for setting up on the go. |
|
DrivetrainThe usual double belt drivetrain, with one belt on each side of the spur gear (although opposite sides compared to the Stallion) features a rather strange concept of one way / spool. It's a one way with the one way bearings in hex housings. Those housings take place on each side of a plastic body on which the pulley attaches. Those one way bearings can be replaced by plastic outdrives, to make a spool. I ditched the whole thing, and got a JP Products spool instead, which I will talk about later. The driveshafts are inverted compared to the mainstream of driveshafts, ala MIP but with a square-ish profile on the dogbone. These are made out of red aluminium and are thicker near the diff for added strength. They look the job, but I have always preferred steel dogbones at the front for durability, especially with spools and one ways. Time will tell if the aluminium will handle the power of the 3.5 brushless. |
 |
|
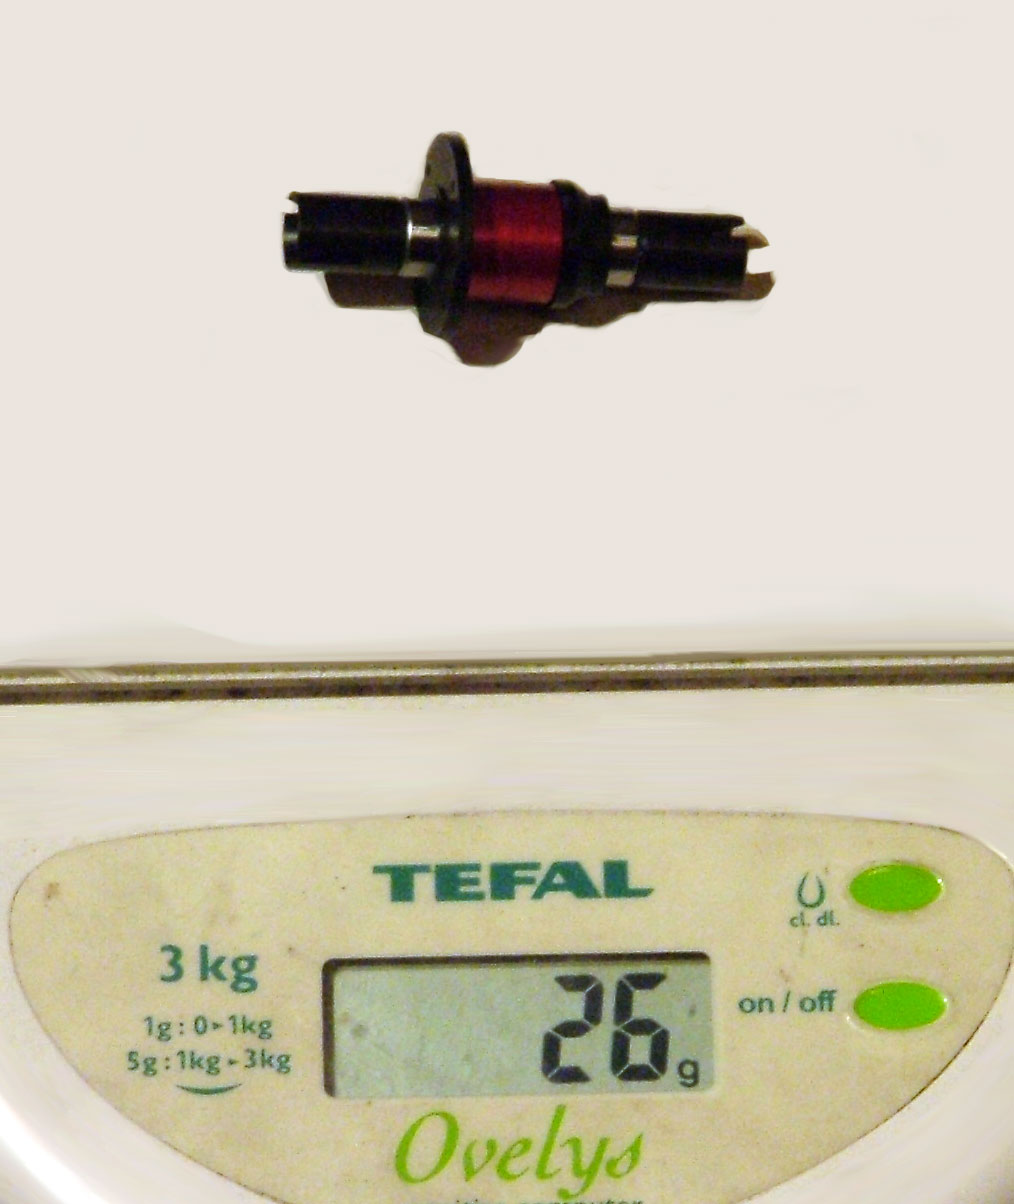
The wheel bearings are 5x10 apart from the outside front ones which are 9x5, so they should be reasonably durable, whilst keeping the unsprung masses low. As stated before, I have chosen to get a JP Products spool for the car. Patrick Jasmin makes quality products, and I have already had a spool made by him for my prototype car. The spool is much lighter than the one way that comes with the car, and features delrin outdrives for reduced mass, chatter and long life. |
 |
 |
 |
 |
ShocksThe shocks are just beautiful. They feature a cartridge at the bottom which can be properly cleaned, and assemble very nicely. 4 types of pistons are provided, but I recommend using the 3B ones, which have very similar dimensions to the tamiya 3-holes in terms of diameter and size of the holes. Once assembled they provide smooth action, probably on par with the TRF shocks. The springs provided are the hard and soft in the range of 3 types of springs at Kyosho. I have calculated the rates to be 19.4 lbs for the Blue (front kit ones), 18.25 for the yellow and 17.25 for the red ones (rear kit ones). |
|
SteeringThe steering system revolves around a single bell crank like on the Stallion, but has been revised and moved further forward for much less Ackermann, which should make the car easier to drive and carry more corner speed as the Stallion had way too much. The way the turnbuckles are mounted however, make for some bump steer to be present. The only way I found to reduce it to a minimum is to put the ball on the hub upside down, so as to have the turnbuckle as parallel to the wishbones as possible. You have to change the way the ball's attached to the hub though, in my case I put a screw through it and a nut on the other side to secure it. It seems that is also what the team does so worth doing. |
 |
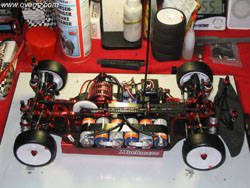
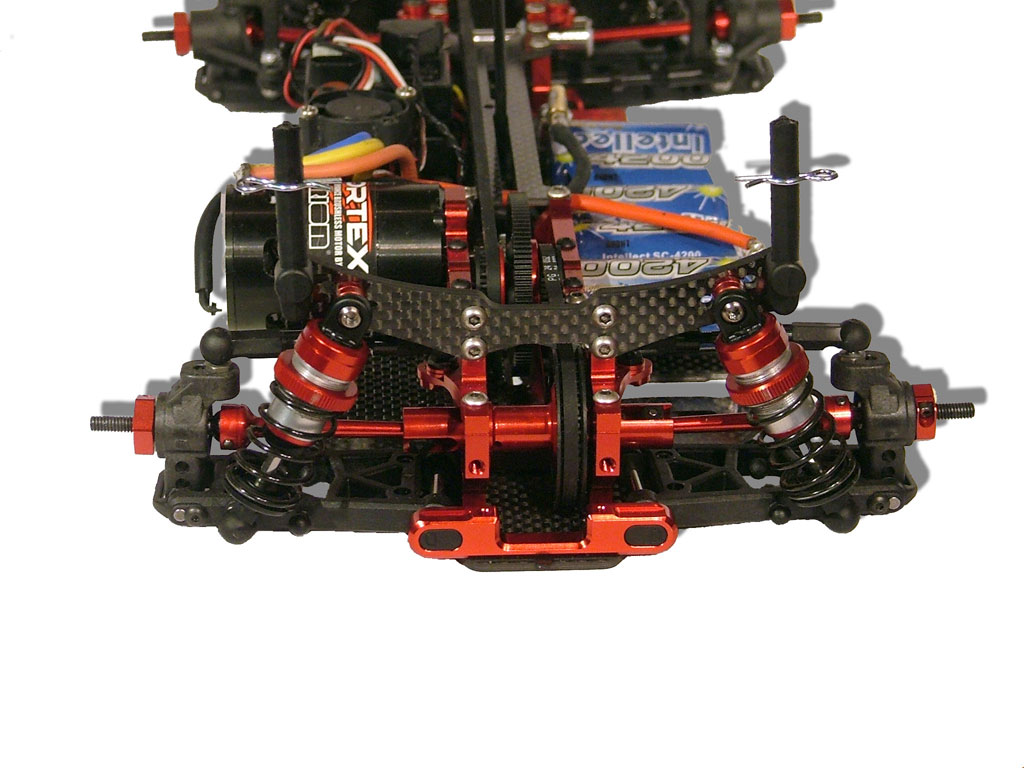
ElectronicsIf like me you chose to install all your electronics in front of the motor, then you have little space to do so, although more than on cars with the servo mounted longitudinally. If you're using a brushed speedo though you should have more room to put everything on the chassis, or a very small receiver. I had to put my receiver on top of the servo, although I could have fitted it in front of the pack (but lacked servo wire length and no spare wire to change it). Still it's not really a squeeze and my PT found a nice spot in front of the pack. You need to cut an ear of your servo in order to let the belt go under what's left of it, with the servo mount going on the other side (ala TRF 416). Yes that's how close to the centreline the servo is! |
 |
|
Once all the electronics are installed and a bodyshell painted and fitted, it's time to weight the beast. I had fears over the weight of the car, as I was told it was heavy, and it comes with Steel screws and turnbuckles. Last season I had one of the lightest cars in the BRCA championship, as my MSXX was around 1390g. This year the weight limit is 1425g so easier to achieve than 1350g. Anyway, good surprise as the Shin with a Nosram Dominator and a pack of 5-cell IB 4200 weights just 1430g, 5g over the weight limit. |
 |
|
Since that, I've put Ti screws nearly all round and it's now 1415g, Ti turnbuckles should help gain a few more grams, but really, you can use the car with steel screws and turnbuckles. I like the bling of Ti stuff, and the possibility of changing the weight balance with a few weights is always welcome. |
 |
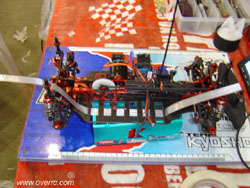
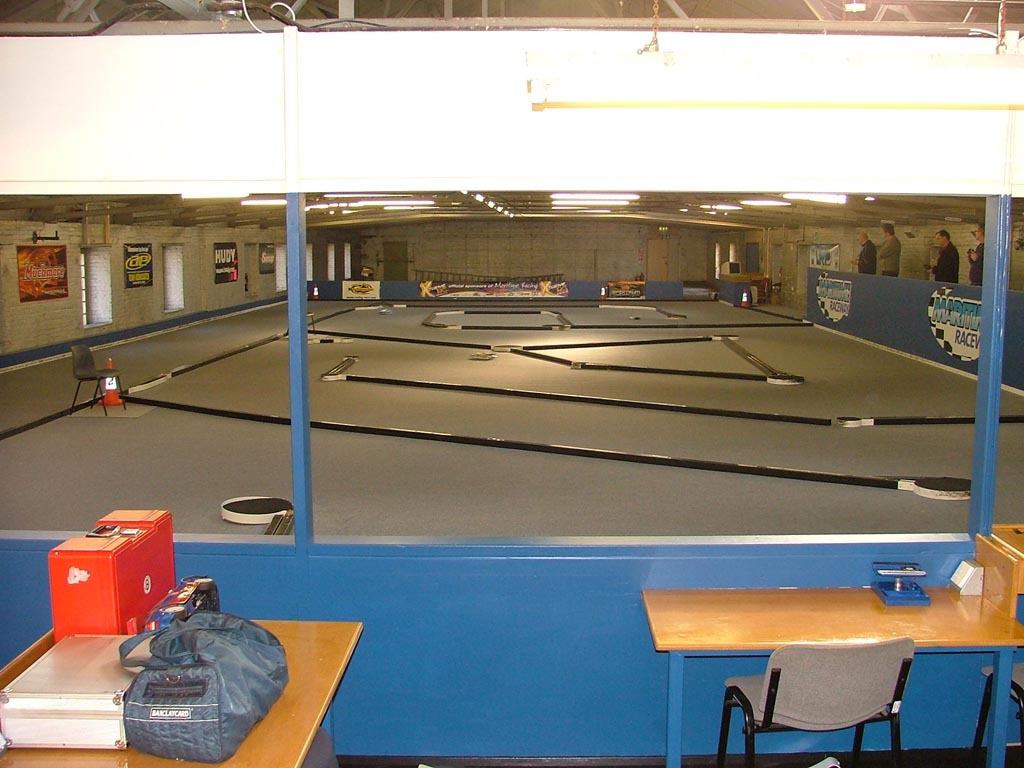
Track TestWith the car ready to go, it was time to hit the track. Due to unforeseen circumstances, I was unable to test the car before the round 5 of Carpet Wars. However we were able to go down on the Saturday and have a few packs at Maritime Raceway. Just a few words about Maritime Raceway, it's Maritime club's brand new permanent indoor facility, which opened early January. It has pits, a space for a shop, a pit stop restaurant, wide screen TV, DVD player and PS, and of course its own carpet track... And room for more tracks! A big thanks goes to Ian Knight, Maritime's president, for all the time and effort he has put into building this awesome facility, certainly the best in the UK for TC racing, and one of the best in Europe without any doubt. Testing at maritime, using a setup kindly provided to me by Jean-Marc Betticher, showed a car easy to drive, maybe a little too easy. However from having tested there before, I knew that given the HUGE amount of grip, I wasn't going to be able to set the car up, so I just got used to how it handled and made the most of my runs. It was good to know that the car was driveable, which was the wole point of going testing on Saturday. Came Sunday and round 5 of Carpet Wars, and it was actually the first time that I could drive the car round during the controlled practice. At every other round my car was undriveable, but the Stallion felt planted and easy to drive, and I had a good practice. In qualifying the car felt once again planted, and easy to drive. I had a good second round which put me provisional 10th, so the pace is there too. Unfortunately I was taken out in round 3. For round 4 I wanted a little more steering, so dropped the front link by 1mm and the car was a little bit better. |
|
|
Unfortunately a car in front of me crashed, landed on the other side of the track and stopped on the racing line, and when I came round, after taking a full speed left hander, it was still there and I hit it. After that the car felt really tweaked and I had to retire. I found out 30 minutes before my final, and with the car in bits, that the problem was in fact a broken top deck. Given the force of the impact, it was no surprise that something would have broken, but a top deck is quite unusual. Thanks to Ed (TryHard), we managed to quick fix the top deck with some Araldite and carbon strips, just in time for the final. However the car wasn't the same with a reassembled top deck, and as I was taken out of contention for the win by some unstuck carpet in lap 1, I only managed to finish 5th in my final. You could find my set-up sheet for this race on this website. I have a few ideas of things I want to try to give the car a little more steering, which I will try at the Carpet Wars 2 day meeting next week end. |
 |
Some pictures from the training at Maritime:
|
||
 |
 |
 |
 |
 |
 |
|
Overall I was really pleased with the way the car went, and I see quite a lot of potential in the car, I just need to tweak the setup to my liking. As for the crash, the top deck was the only damaged part. No hinge pins bent or cracked suspension part. True I'd rather bend a hinge pin than break a top deck, but something had to give, so we'll give the benefit of doubt and assume it was a one off. I would definitely advise anyone who want a car that's different to the others to get a Kyosho, they are here to stay and will get bigger and bigger in the electric market. Pictures and text from Cobra81li200. |
 |